
Your grinder is working hard to make coffee for you. It's heavy duty motor spins thousands of times a day and it's steel burrs crunch their way though kilos of tough little beans each week. All this takes it's toll, and even the best and most up do date grinders need a regular schedule of cleaning and maintenance to help keep them dosing cleanly and consistently. Though every make and model of grinder is slightly different in terms of housing and layout, there are guiding principles that apply to all burred coffee grinders and they all suffer from a build-up of greasy residue and fine coffee dust produced each time they grind a dose of beans. This gathers around burrs and along dosing tubes, imparting a musty and stale taste to your espresso and impairing free and accurate dosing of grinds. This is especially relevant with "on-demand" grinders, whose very functionality and appeal to baristas is driven by their ability to dispense a desired dose of coffee consistently at the touch of a button. So, without further ado, here's a quick rundown of the things you should be doing to keep your grinder happy.
Daily Cleaning
- Your grinder will always have old grinds retained around the burrs from the last time you ground a dose of coffee. Bear this in mind when dialling in your grinder. It's best to throw away the first few double doses in the morning as these were actually ground the night before and won't give you an accurate picture of whether your grind texture needs adjusting
- Keep an old paintbrush handy for sweeping up spilled grinds, especially at the end of a busy shift
Weekly Cleaning (BASIC)
- The hopper that holds your beans prior to grinding is prone to greasing up through contact with coffee beans, especially if you have one of our darker roasts like Crow Tree. This looks unappealing to customers and may taint your fresh beans with the flavour of stale or rancid coffee oils. Give it a thorough wash in hot soapy water and leave to dry. Your steam wand can also be used to loosen coffee oils which can then just be wiped off with a clean cloth or paper towel. DO NOT use any strong smelling cleaning chemicals as these will be transferred into your beans. No-one wants espresso with tasting notes of Arctic Pine
- Now that your hopper is off you should be able to access the neck of the grinder. Hoover out any retained grinds, ensuring that you also get at the dosing tube. Though you might be tempted to try and brush up inside the dosing tube to remove stubborn grinds or fines, I would be a bit careful in case there is some sort of anti-static foil up there. If damaged these can play havoc with your dosing and distribution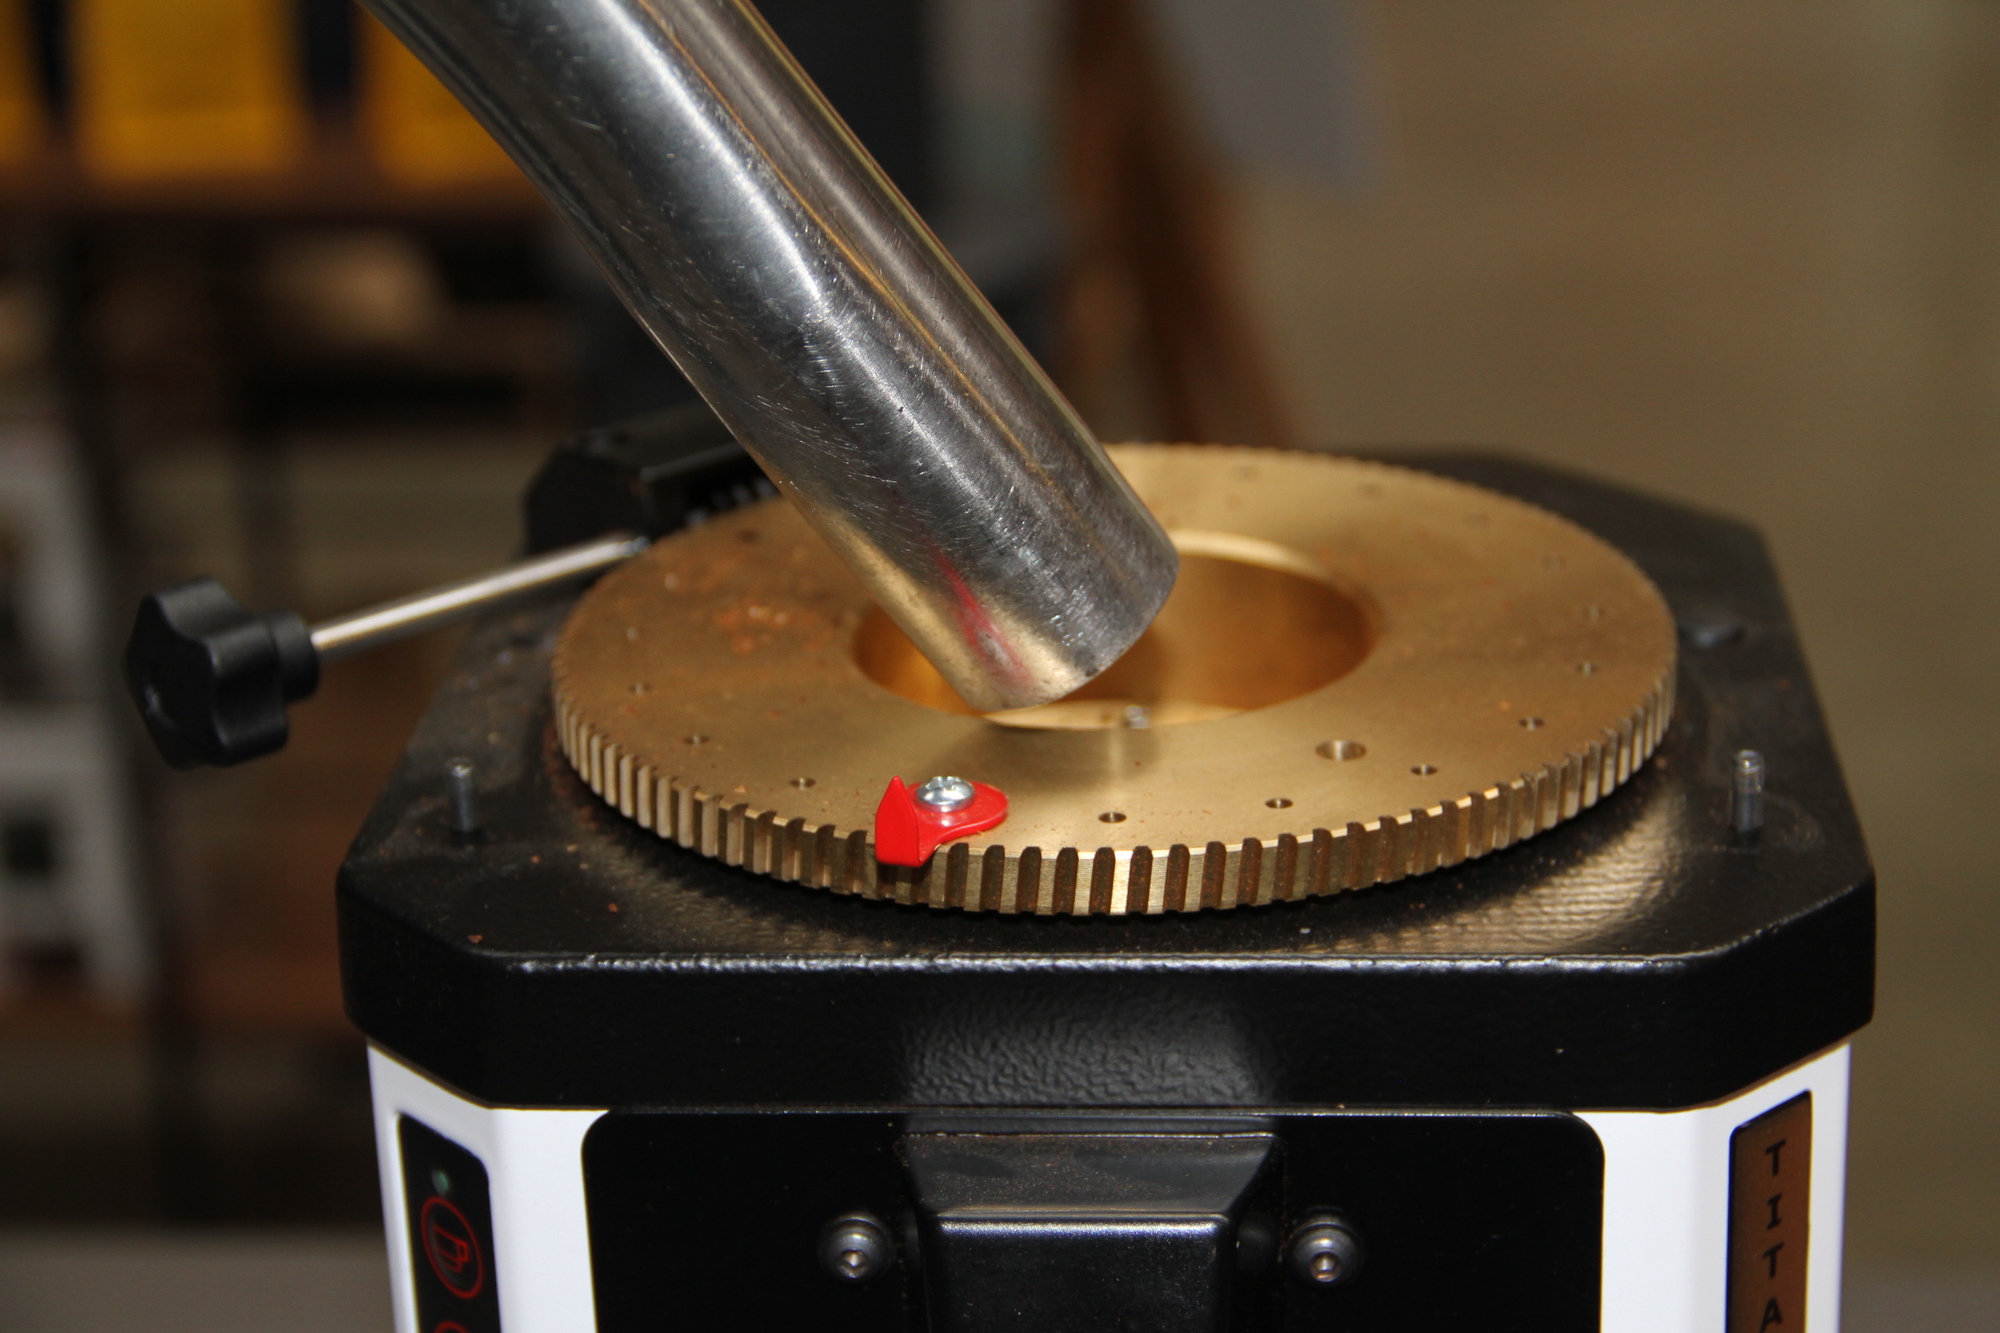
Weekly Cleaning (THOROUGH)
Hoovering out your grinder regularly is very worthwhile but won't do much to address the issue of greasy coffee residue accumulating on burrs or inside the dosing chamber or dosing tube. In order to get at these you'll need to get a bit more intimate with your grinder! Here's a step by step guide to how we do this with the Anfim SCODY grinder. Though your grinder burrs may be accessed in a slightly different way, the principle is the same regardless of make or model. As always please ask for advice if you are not sure about how to do this with your grinder!
- Turn off your grinder at the mains. Having a grinder spark into life whilst your fingers are inside is always going to end badly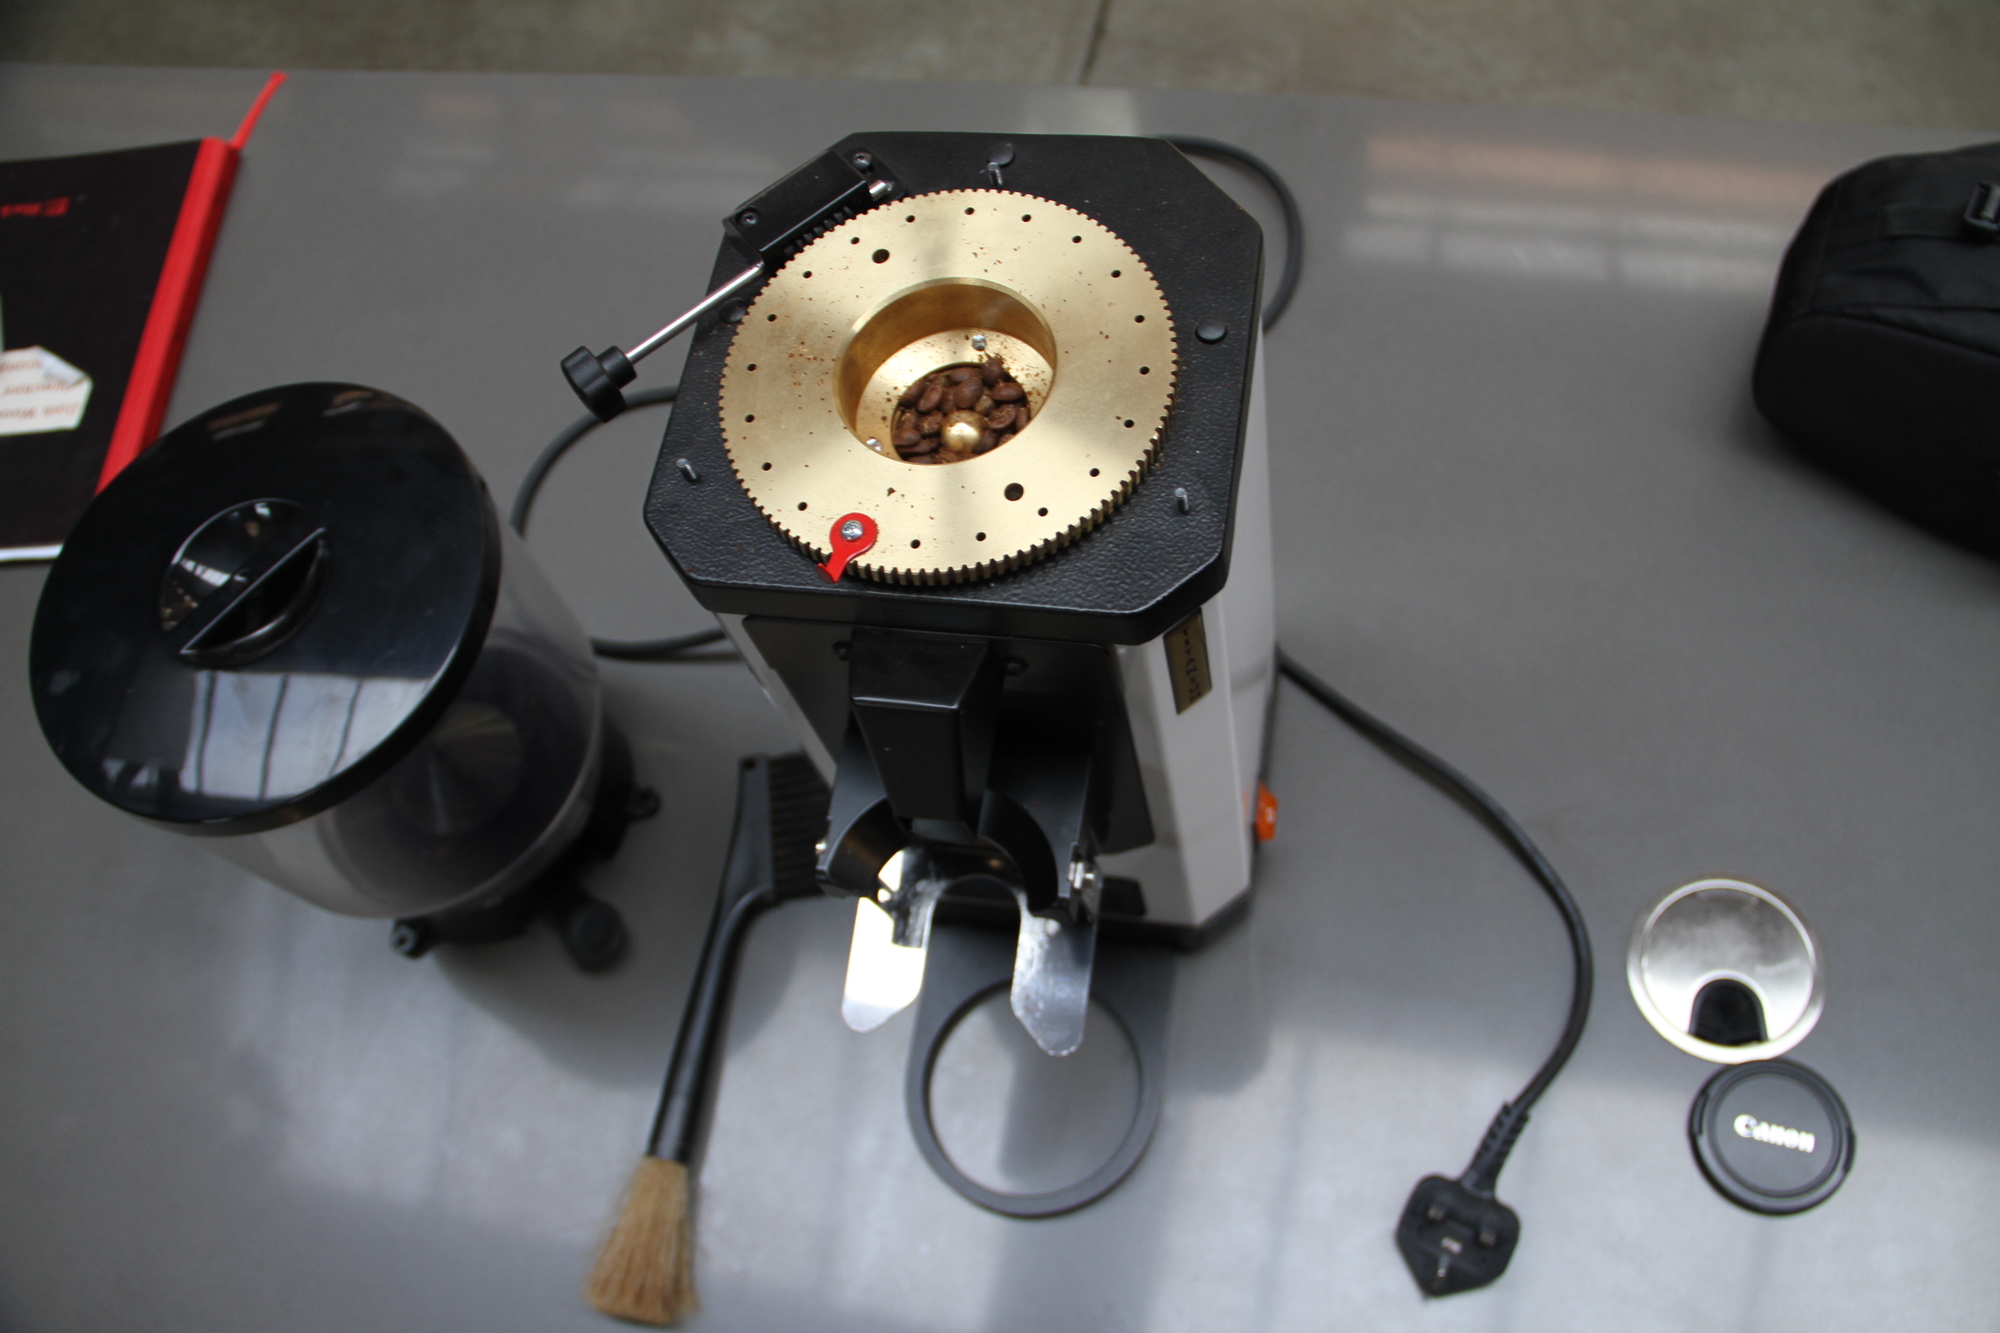
- Remove any housing that encloses the burrs and remove the top burr. Normally this is the one that stays fixed whilst the bottom burrs spins and can often be removed by taking your grind coarser and coarser until the burr and carrier lift off in your hand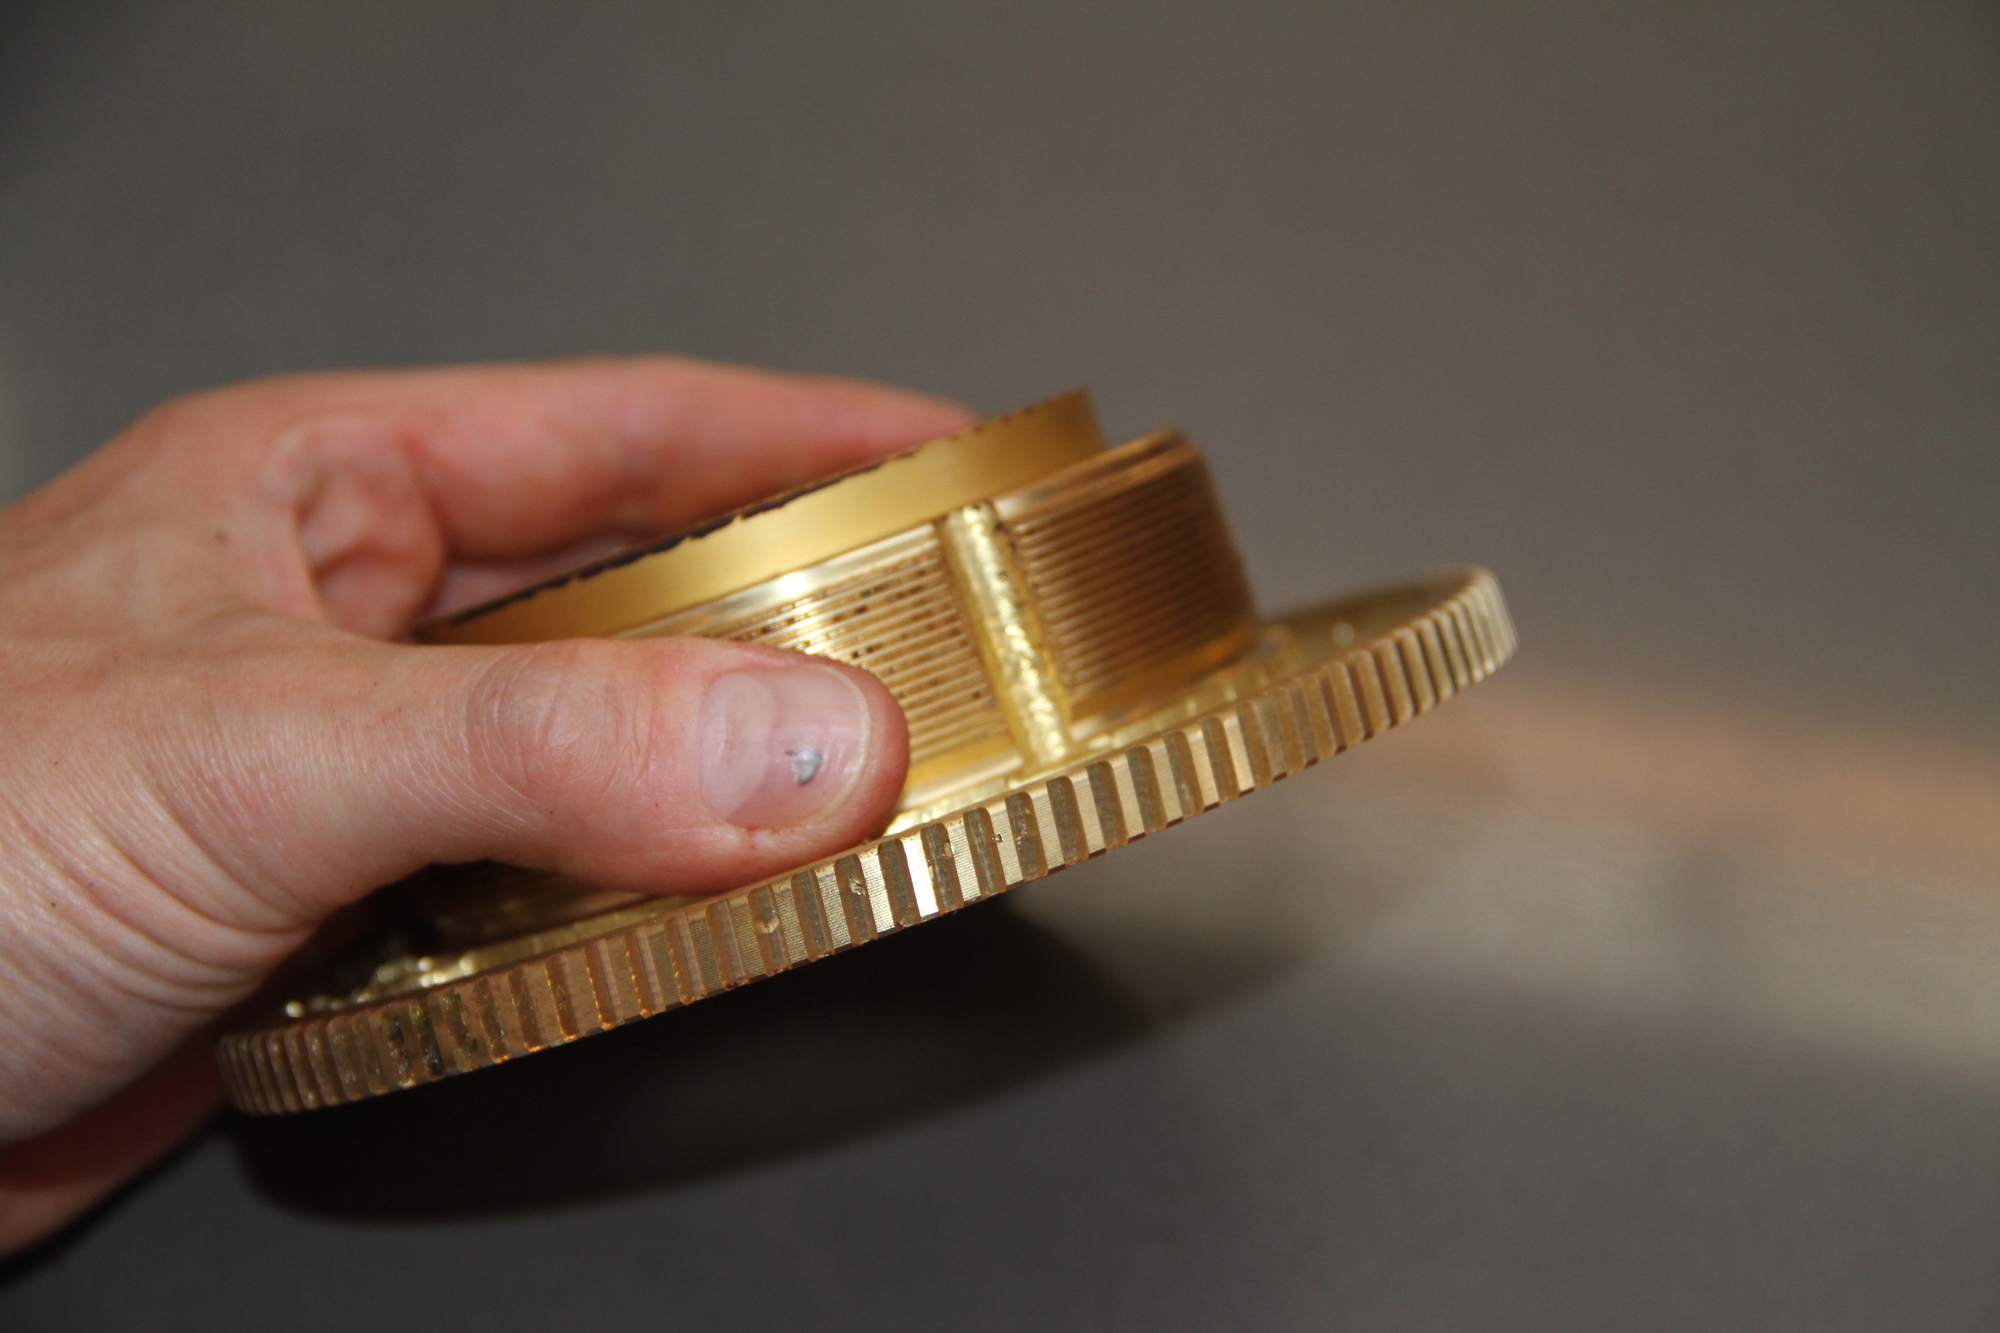
- Now that the bottom burr is exposed you should be able to see that there are lots of stray grinds hiding in and around them. Many of these grinds will be very small, dusty particles called fines. These tend to gum together in an oily residue that coats burrs, burr housing and the inside of the dosing tube. Though a brush and hoover should remove normal grinds easily, these fines can be more persistent and you may need to wipe or scrub them off with a paper towel or plastic grouphead brush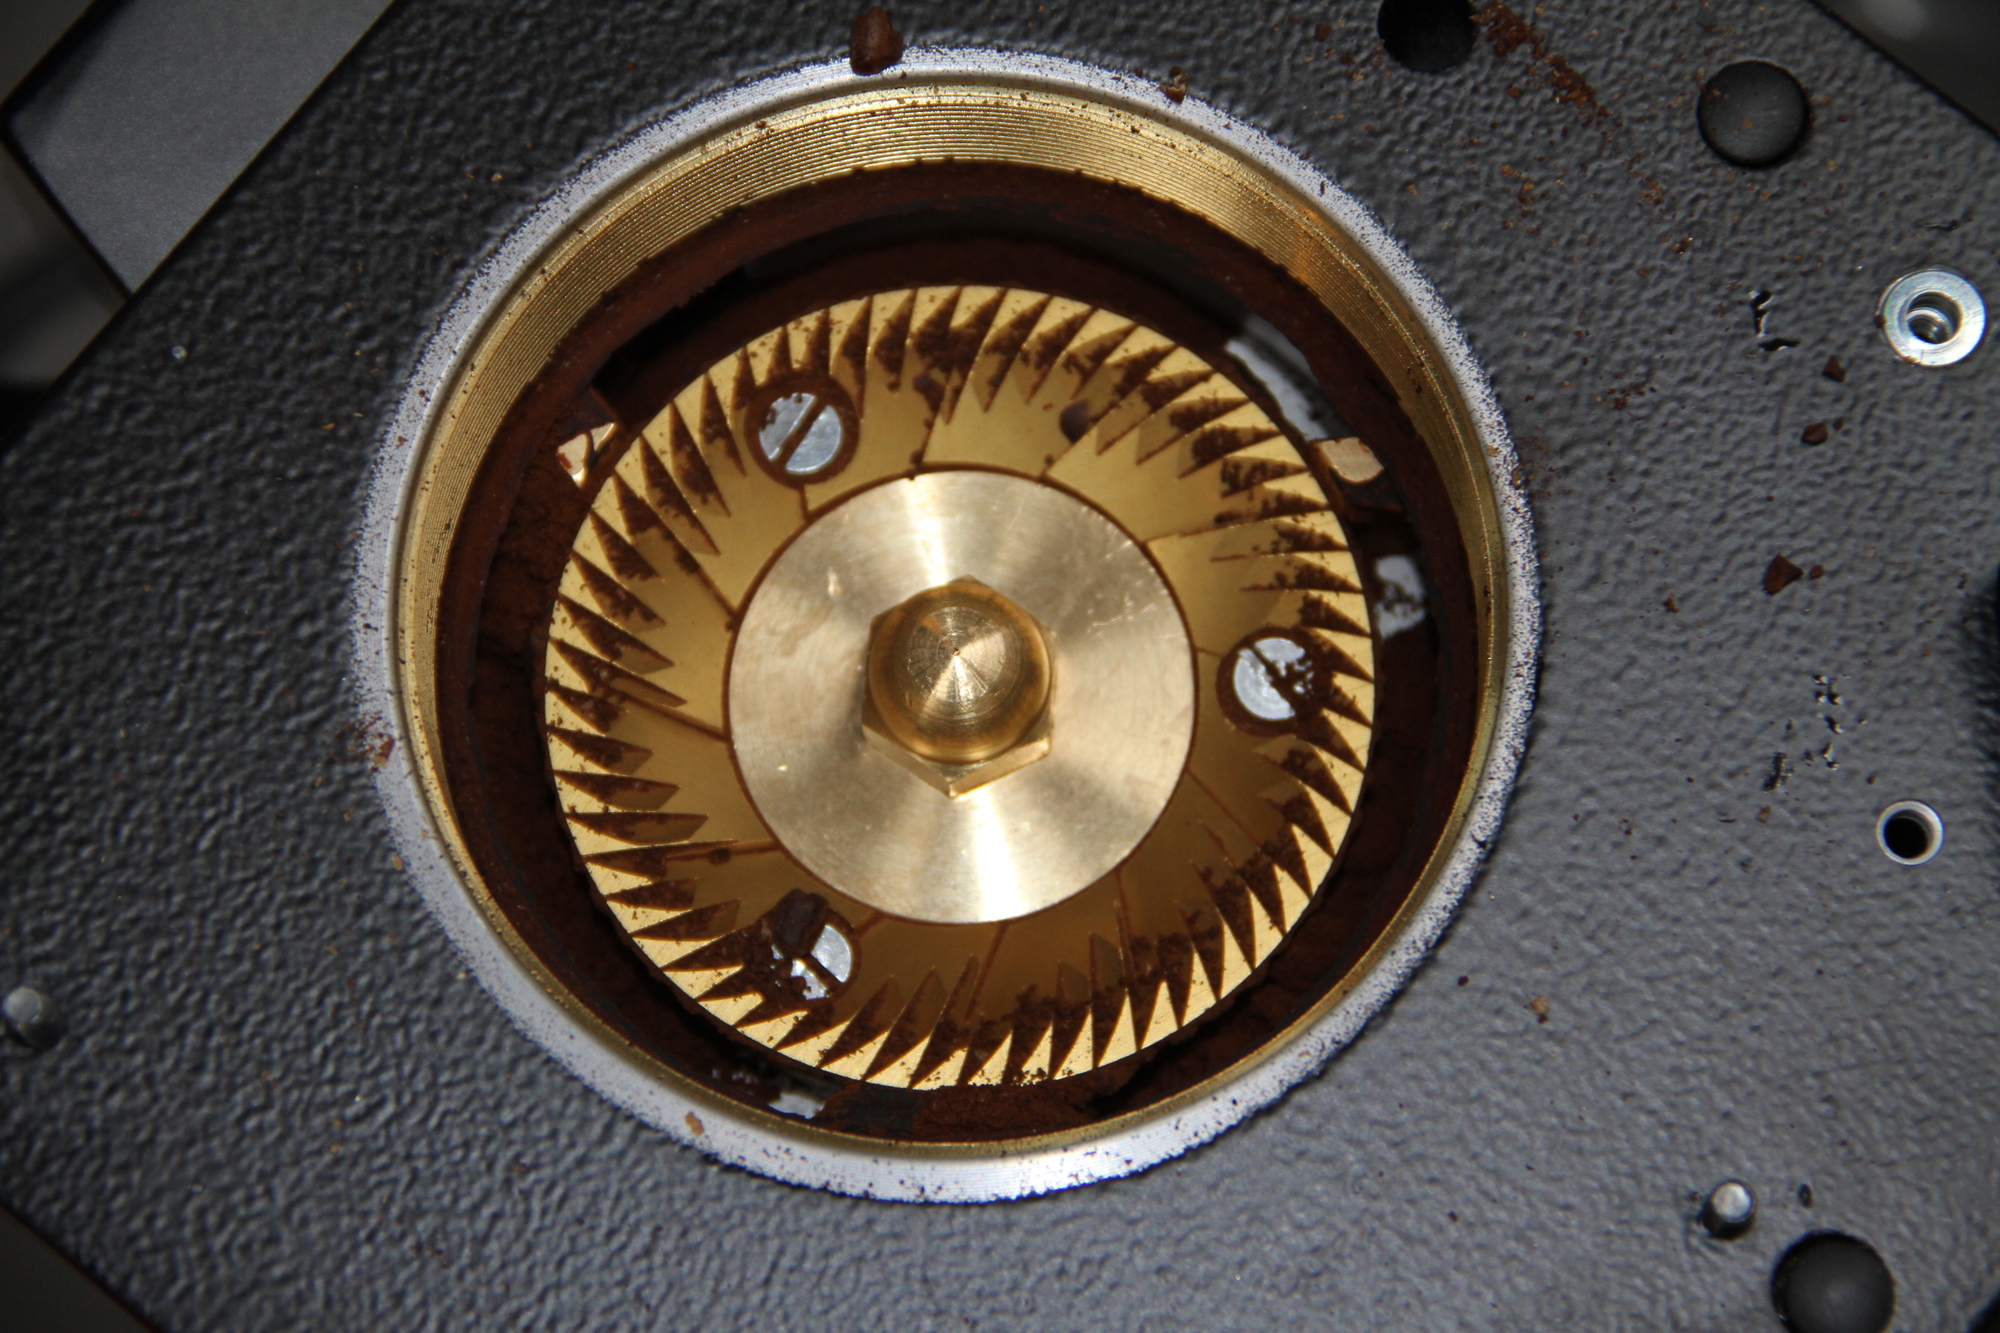
- If the burrs look fairly clean you may be able to leave them in situ, but if they are greasy and gummed up with fines it will be necessary to remove them from their housing by undoing the 3 screws that hold them in place. Once removed they can be soaked in hot water and half a teaspoon of Pulycaf or similar espresso detergent. Scrub, dry and replace, taking care to align them as centrally as possible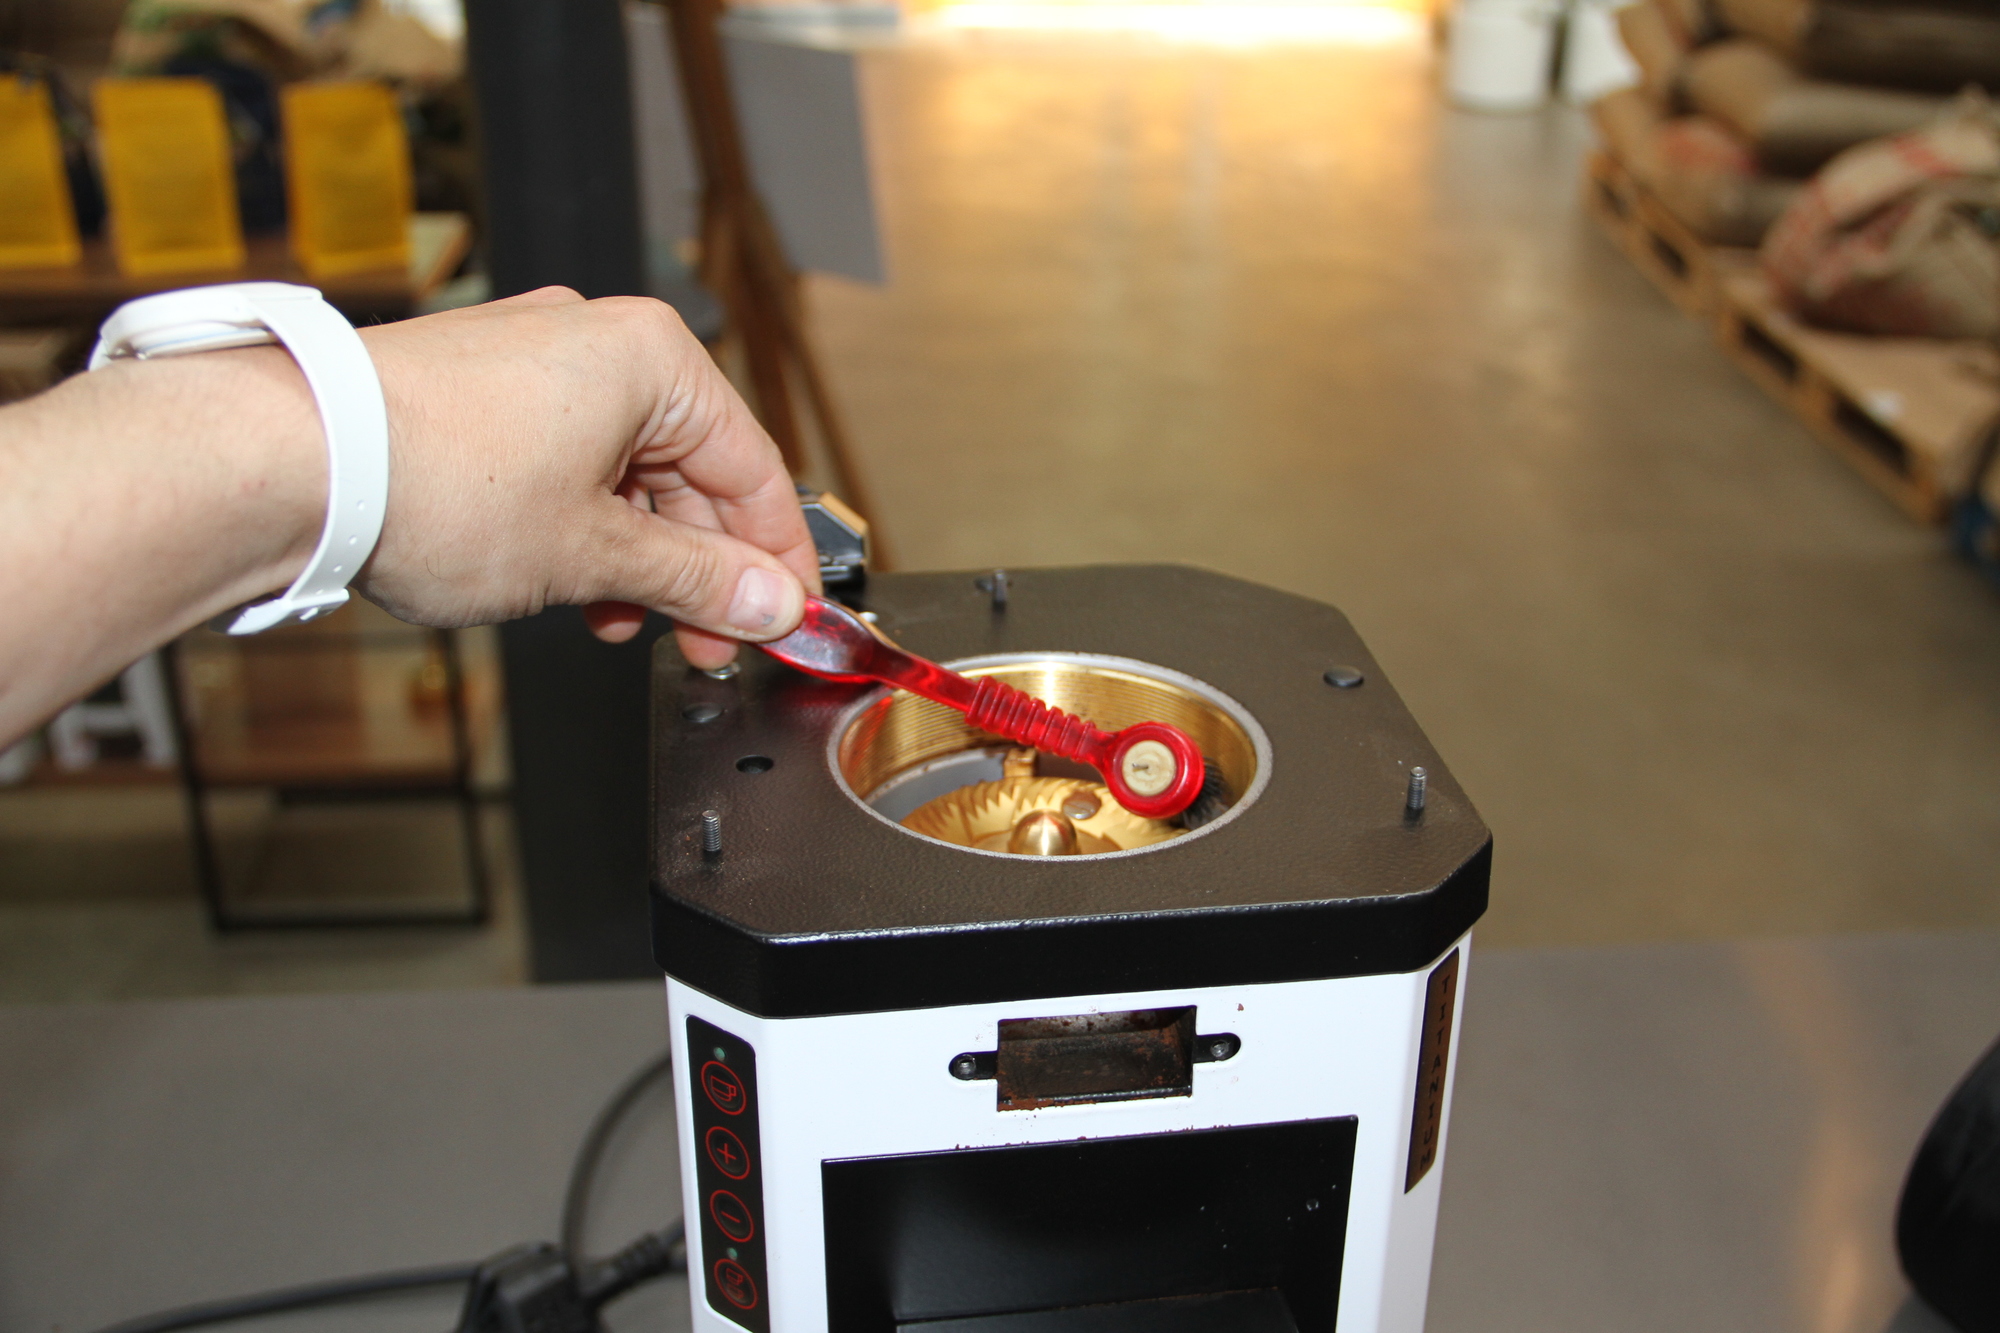
- If your top burr housing is on a screw thread it is likely that this is also gummed up with fines and oils. Use a toothpick or dry grouphead brush to clean the threads before carefully screwing back the burr housing. You may want to coat the thread with a fine layer of food grade grease before reassembling as this helps keep things moving freely. Take care when guiding the top burr housing back into it's thread and stop if you meet unexpected resistance as this tends to indicate that you are in danger of cross threading it. This is easily done and can make the grinder extremely hard to adjust in future. Some grinders like the Anfim Pratica manage grind adjustment without using a screw thread which is one of the many reasons we like it so much!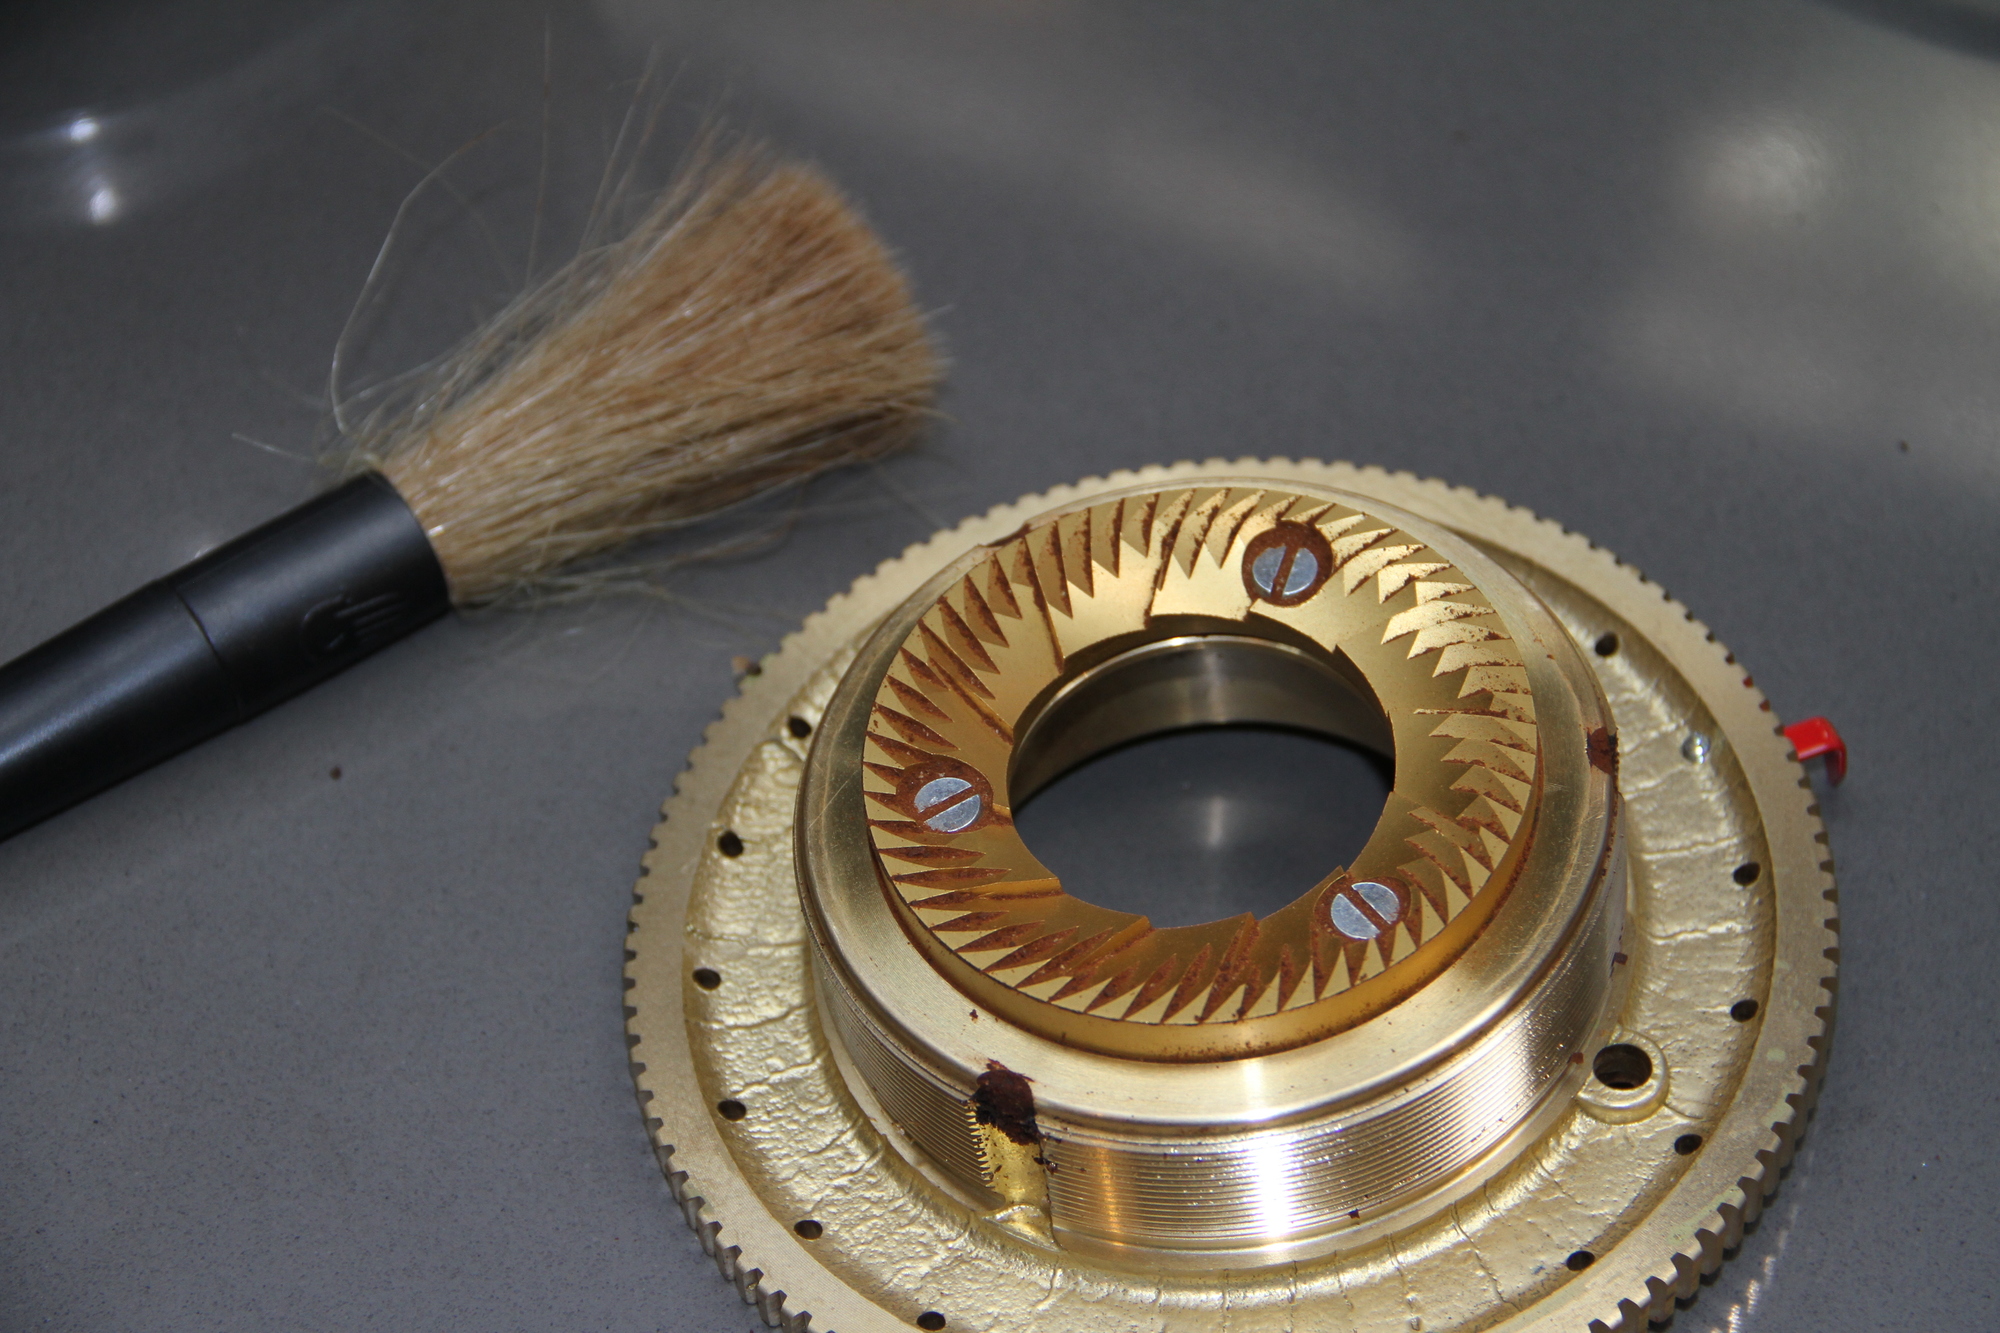
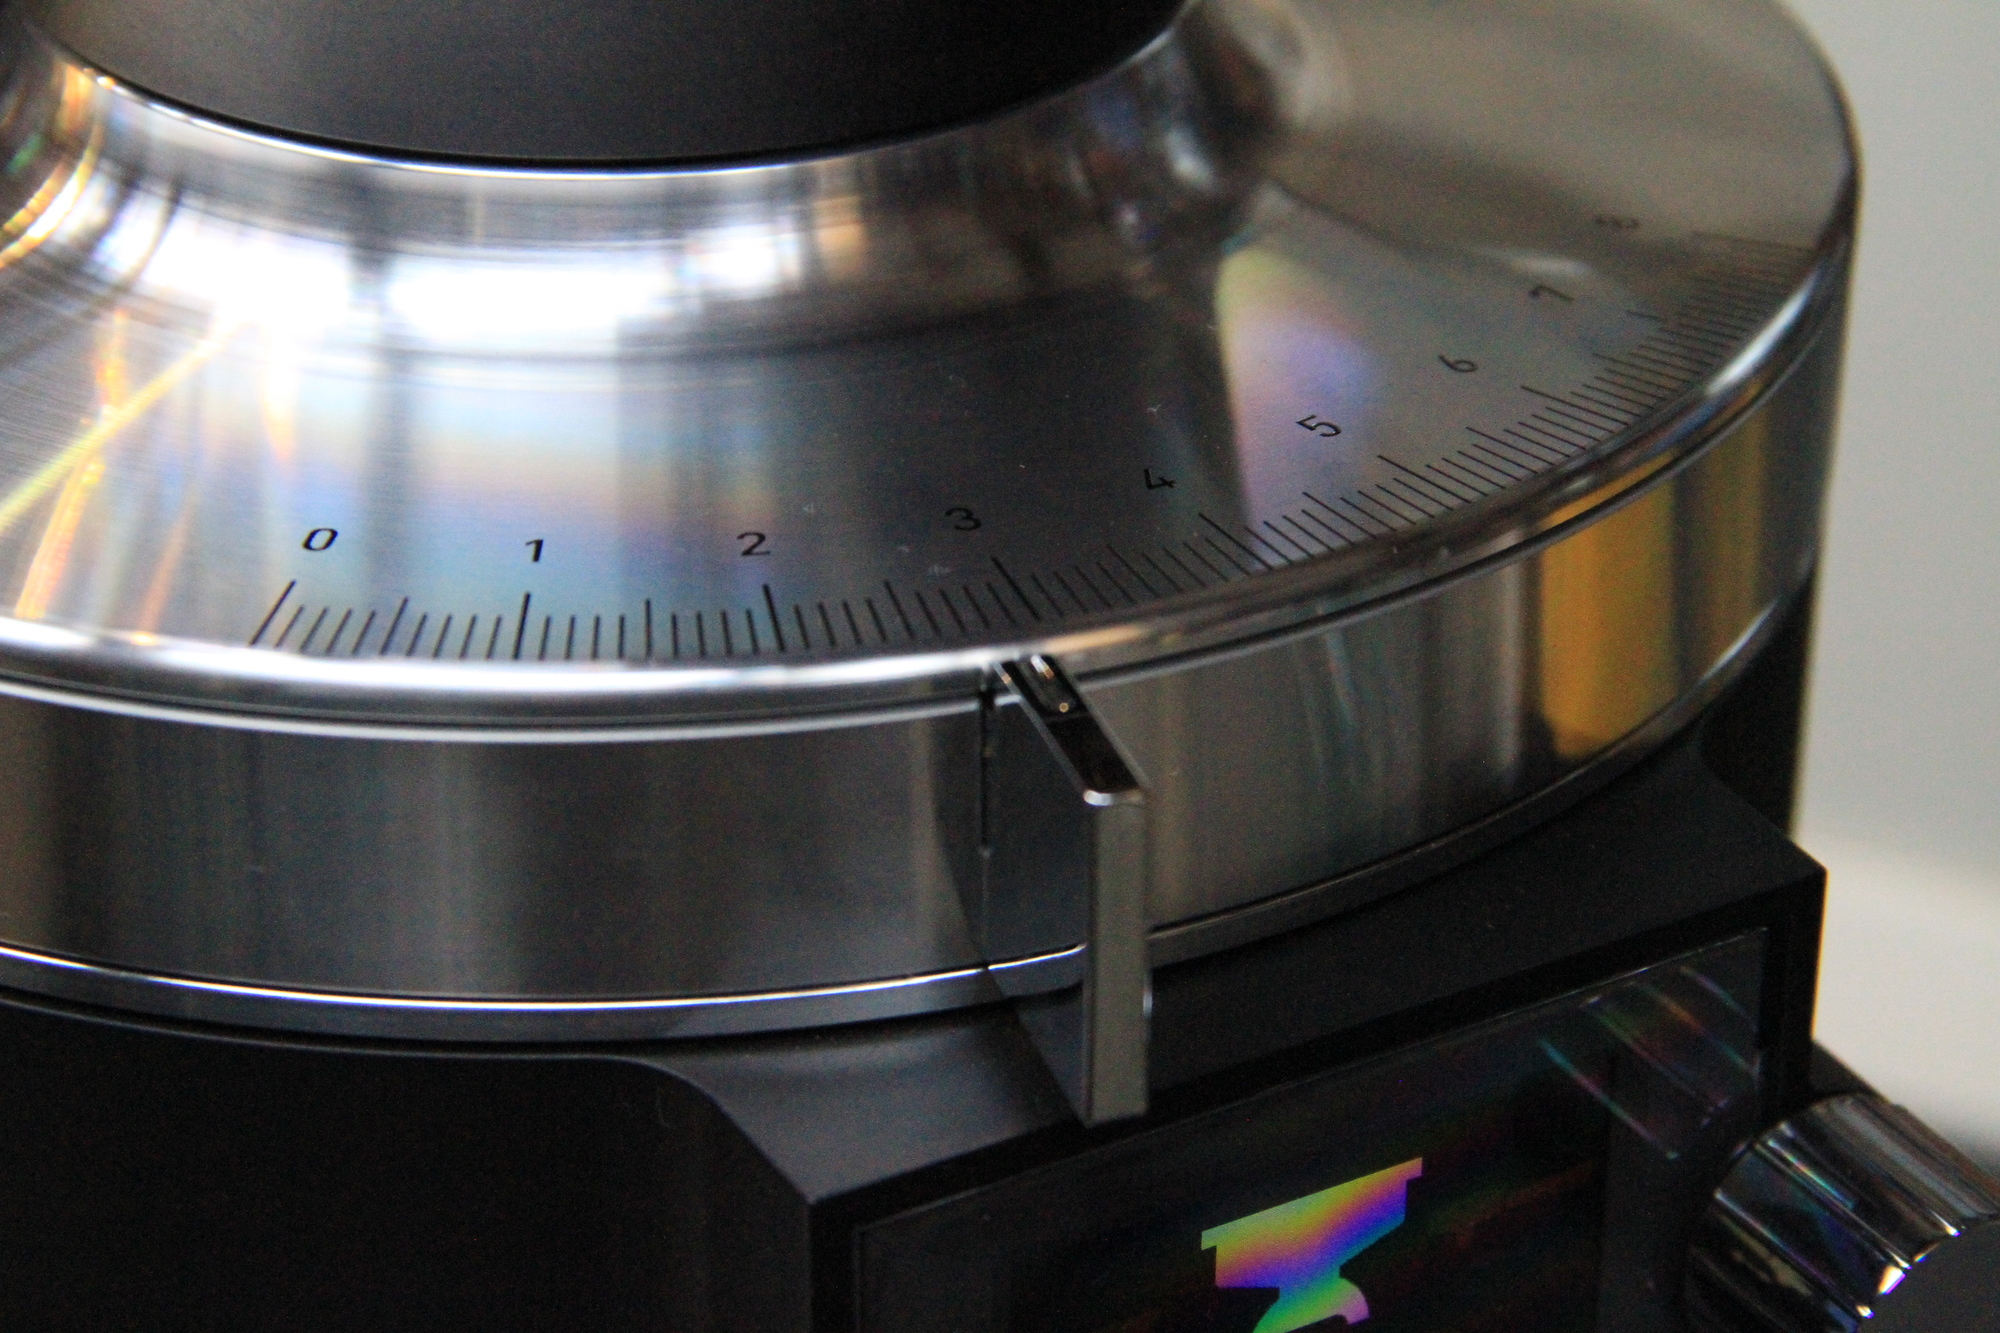
- Now you can recalibrate your grinder. Take the grind as fine as you can (until the burrs are touching) and then coarsen off a little and you should be roughly where you need to be for espresso. Fine tuning will require some beans so plug the grinder back in and dial the grind in to your normal brew recipe
- Have a lovely cup of coffee, you've earned it!
Here are a few useful links to cleaning videos I found on YouTube
Cleaning a Mahlkonig K30 (I wouldn't personally remove the main motor as they do in this video as it's not really necessary so feel free to kip this bit!)